
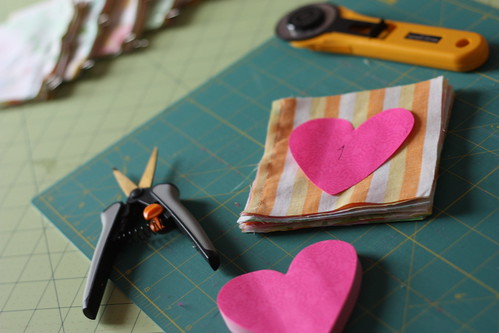
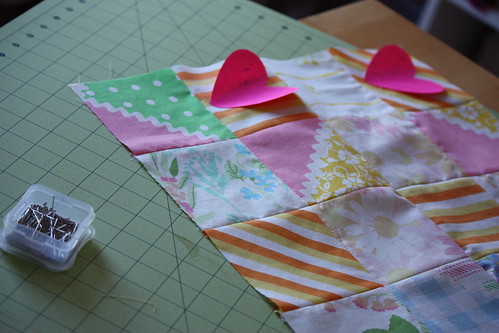
Does anybody else use sticky notes to help keep things straight and organized while quilting? My memory is so terrible and since becoming a mommy I've also become quite scatterbrained, I don't know what I'd do without my heart sticky notes. I use them to help me keep track of rows, measurements, fabric direction, etc. LOVE them. Just make sure you don't sew over your notes. oops! :)
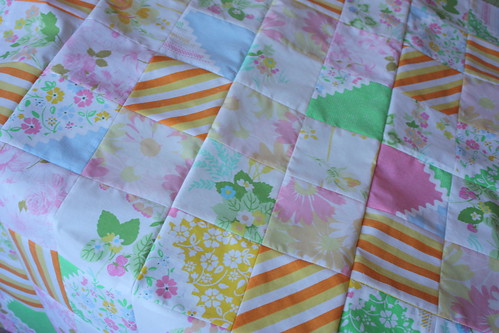
I taped a big sheet to the floor (remember to sweep first!) ;) and used some white flannel as my batting (I heard that it's a nice way to make a lightweight quilt, but again, I'm not sure if this is what the "pros" do) :) with help from my hubby I got the quilt top on and everything appeared straight, so I held my breath and started pinning. I started using safety pins but then I ran out. I would have gone to get more but I was trying to finish this during a naptime, so I just grabbed my pins and used them to finish the rest. No project of mine is complete without blood. My right thumb was the victim this time. I pinned every square, some of them twice, so that's over 100 pins. Only one injury is pretty good, right!? ;) Once everything appeared pinned and in place, I drew lines using my little pink ruler and purple quilting pen and started stitching away. Stuffing a 40 inch by 40 inch 3 layered blanket through my machine was a booger, and there's another lesson to learn here: clean your workspace first!... it's so pretty to have a cluttered desk, but it's not very practical at all. Let's just say the quilt made room for itself by pushing everything else on the floor, including a little box of pins. Oops...
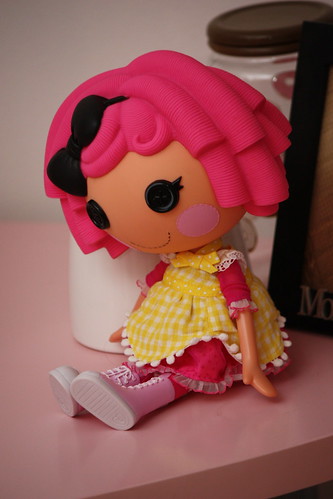
(My husband got me this Lalaloopsy doll for Christmas and she happily sits on my desk... unless I'm sewing. and then she's hangs out on the floor.)
Part 2 to come soon. :) Naptimes last for only so long, you know! What fun would it be if my chicky slept for long enough for me to finish a quilt?!... :)
No comments:
Post a Comment